Our Laravel project will use MySQL database, so let's install the database engine now. It comes from Amazon itself and it is called RDS.
This tutorial will teach you how to create an environment to run your MySQL database. We'll use Amazon Relational Database Service (Amazon RDS) for this, and everything in this tutorial is Free Tier eligible. In addition, we'll provide some MySQL commands to do basic things such as create/list users/tables.
Let's get started:
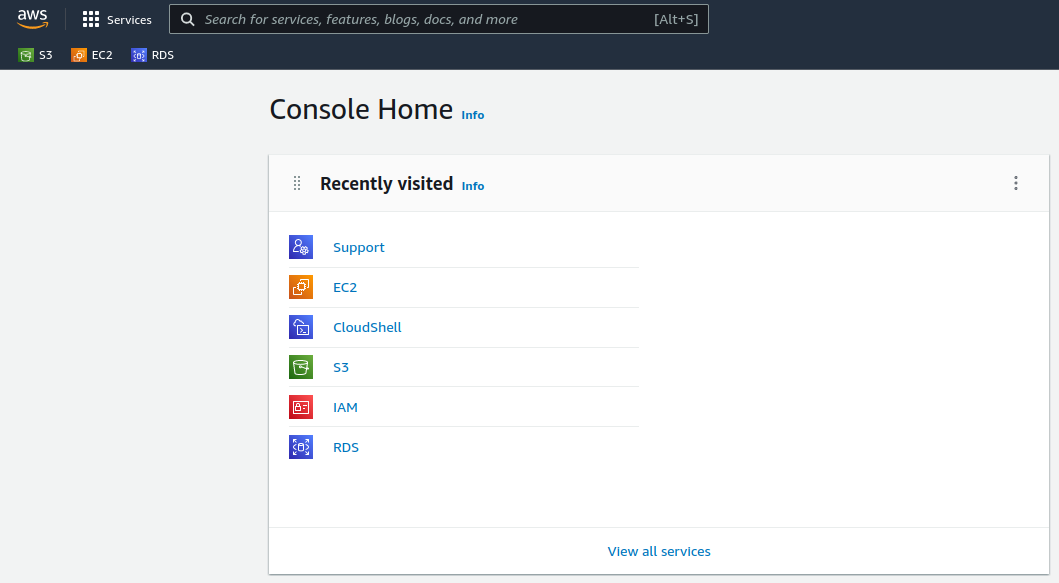
- Click on the RDS link in the top bar to navigate to RDS Dashboard:
Alternatively you can find RDS link under Services > Database > RDS:

- In the second card named Create database on Dashboard press
[Create database]button:

- On the Choose a database creation method section choose
Standard createbecause we want to define some configuration options ourselves.

- Pick MySQL engine type, the default MySQL version is 8, let's keep it this way:

- In the Templates section we chose
Free tierfor tutorial purposes:

- On the Settings card you can choose your DB instance identifier and credentials. Everything looks fine. We just checked
Auto generate a password. Password will be given to you once the instance is created.

- On the Connectivity card pick
Connect to an EC2 compute resource:
This option automatically adds the database to the same VPC (Virtual Private Cloud) and DB subnet group, this ensures you can safely reach the database server within the private network from your server without exposing the database to the public (note that Public access is not available). Leave everything else on default, and we are good to go.

-
Submit form by hitting
[Create database]button on the bottom :) -
After submitting you will be redirected to your databases list. The blue alert above will indicate that the database is being created and will allow you to view the credentials:

- Press the
[View credential details]button and save your database credentials somewhere safe:
This is the only time you will be able to view this password.

- It might take several minutes for the process to finish, stay patient. Afterward green alert will notify you when the database is up and ready for use.

- Press the
[View connection details]button, and save your endpoint URL, this will be used to connect to your database from the server.
Please note your RDS instance is not accessible publicly

- Now that we have MySQL instance running we need to install MySQL client on your server, this can be done using this command
apt-get install mysql-client:
root@ip-172-31-44-101:~# apt-get install mysql-clientReading package lists... DoneBuilding dependency tree... DoneReading state information... DoneThe following additional packages will be installed: mysql-client-8.0 mysql-client-core-8.0 mysql-commonThe following NEW packages will be installed: mysql-client mysql-client-8.0 mysql-client-core-8.0 mysql-common0 upgraded, 4 newly installed, 0 to remove and 12 not upgraded.Need to get 2702 kB of archives.After this operation, 62.3 MB of additional disk space will be used.Do you want to continue? [Y/n] Y- Connect to the RDS server using this command
mysql -u admin -p -h database-1.cbd1u2cfua0q.eu-central-1.rds.amazonaws.com, replace hostname with the one you got provided when the instance was created and use the password we saved earlier:
ubuntu@ip-172-31-44-101:~$ mysql -u admin -p -h database-1.cbd1u2cfua0q.eu-central-1.rds.amazonaws.comEnter password:Welcome to the MySQL monitor. Commands end with ; or \g.Your MySQL connection id is 531Server version: 8.0.28 Source distribution Copyright (c) 2000, 2022, Oracle and/or its affiliates. Oracle is a registered trademark of Oracle Corporation and/or itsaffiliates. Other names may be trademarks of their respectiveowners. Type 'help;' or '\h' for help. Type '\c' to clear the current input statement. mysql>Prompt mysql> will indicate we have connected to our MySQL instance successfully.
- We need to create a database for our project, let's call it
demo_project. You can do it by entering theCREATE DATABASE demo_project;command:
mysql> CREATE DATABASE demo_project;Query OK, 1 row affected (0.04 sec)In case you made a typo creating your database you can DROP (delete) it with this command
DROP DATABASE your_db_name;
To list databases enter SHOW DATABASES;
mysql> SHOW DATABASES;+--------------------+| Database |+--------------------+| demo_project || information_schema || mysql || performance_schema || sys |+--------------------+5 rows in set (0.01 sec)As we can see we have our newly created database listed.
You will see there are more databases, here's a short description of what they're for:
-
mysql- is the system database that contains tables that store information required by the MySQL server -
information_schema- provides access to database metadata -
performance_schema- is a feature for monitoring MySQL Server execution at a low level -
sys- a set of objects that helps DBAs and developers interpret data collected by the Performance Schema
Leave them as is, since they're the default ones required for MySQL to function properly unless you know what you're doing.
- After creating a new database for our project, we need to create a separate user for our application that will use that database. Our default
adminuser has full control over the MySQL server, which means it has access to every database, table, user, etc. As a result, it's best to avoid using this account for anything else than administrative purposes.
To create new user enter CREATE USER 'demo_user'@'%' IDENTIFIED BY '<your_password>';
mysql> CREATE USER 'demo_user'@'%' IDENTIFIED BY '********';Query OK, 0 rows affected (0.01 sec)To list current users on database enter SELECT user FROM mysql.user;
mysql> SELECT user FROM mysql.user;+------------------+| user |+------------------+| admin || demo_user || mysql.infoschema || mysql.session || mysql.sys || rdsadmin |+------------------+6 rows in set (0.00 sec)We can check current permissions for our newly created demo_user account using SHOW GRANTS for demo_user;
mysql> SHOW GRANTS for demo_user;+---------------------------------------+| Grants for demo_user@% |+---------------------------------------+| GRANT USAGE ON *.* TO `demo_user`@`%` |+---------------------------------------+1 row in set (0.00 sec)As we can see it has no permissions at all. USAGE is a synonym for no permissions.
In most cases, we want to grant MySQL users privileges based on the database to which they should have access. It is standard procedure.
We can grant all privileges for demo_user on demo_project with this command GRANT ALL PRIVILEGES ON demo_project.* TO 'demo_user'@'%';.
mysql> GRANT ALL PRIVILEGES ON demo_project.* TO 'demo_user'@'%';Query OK, 0 rows affected (0.01 sec)If the MySQL server is started without the --skip-grant-tables option, it reads all grant table contents into memory during its startup sequence. The in-memory tables become effective for access control at that point.
To be sure privileges are updated without restarting the server in case it has the --skip-grant-tables flag set, we can force update privileges using the FLUSH PRIVILEGES; command.
mysql> FLUSH PRIVILEGES;Query OK, 0 rows affected (0.09 sec)Finally, we check demo_user permissions again using SHOW GRANTS for demo_user;
mysql> SHOW GRANTS for demo_user;+-------------------------------------------------------------+| Grants for demo_user@% |+-------------------------------------------------------------+| GRANT USAGE ON *.* TO `demo_user`@`%` || GRANT ALL PRIVILEGES ON `demo_project`.* TO `demo_user`@`%` |+-------------------------------------------------------------+2 rows in set (0.00 sec)Now you can log out with the admin user and try to log in with demo_user.
mysql> exit;Byeroot@ip-172-31-44-101:~# mysql -u demo_user -p -h database-1.cbd1u2cfua0q.eu-central-1.rds.amazonaws.com- Optionally we can check if privileges are really in effect.
Select the current working database and enter USE demo_project;
mysql> USE demo_project;Database changedCreate a table my_table with CREATE TABLE my_table (id int);
mysql> CREATE TABLE my_table (id int);Query OK, 0 rows affected (0.07 sec)To list tables enter SHOW tables;
mysql> SHOW TABLES;+------------------------+| Tables_in_demo_project |+------------------------+| my_table |+------------------------+1 row in set (0.01 sec)Great, everything is working as expected, finally, we can delete this test table using DROP TABLE my_table;
mysql> DROP TABLE my_table;Query OK, 0 rows affected (0.03 sec)You can exit MySQL console now with EXIT;
mysql> EXIT;Byeubuntu@ip-172-31-44-101:~$- Now we have prepared the
demo_projectdatabase anddemo_useraccount for our Laravel application.
on step 11. - 13. Do we really need to install the client? we can create the database using the provided AWS UI, and php will connect to the database without using any local client i think, i could be wrong tho
I'm not sure what "AWS UI" is referring to exactly, although the course focuses on using command line tools.
Might be a silly question but for smaller apps could we not just install MySQL directly onto the same EC2 instance without using RDS at all? I'm just thinking for smaller apps to keep costs down
this is what i did anyway