In this lesson, let's explore different options for changing the layout of the form input fields and grouping them in various ways.
Interestingly, similar layout concepts may be reusable in the future, not only for the forms but for other elements on the Filament pages.
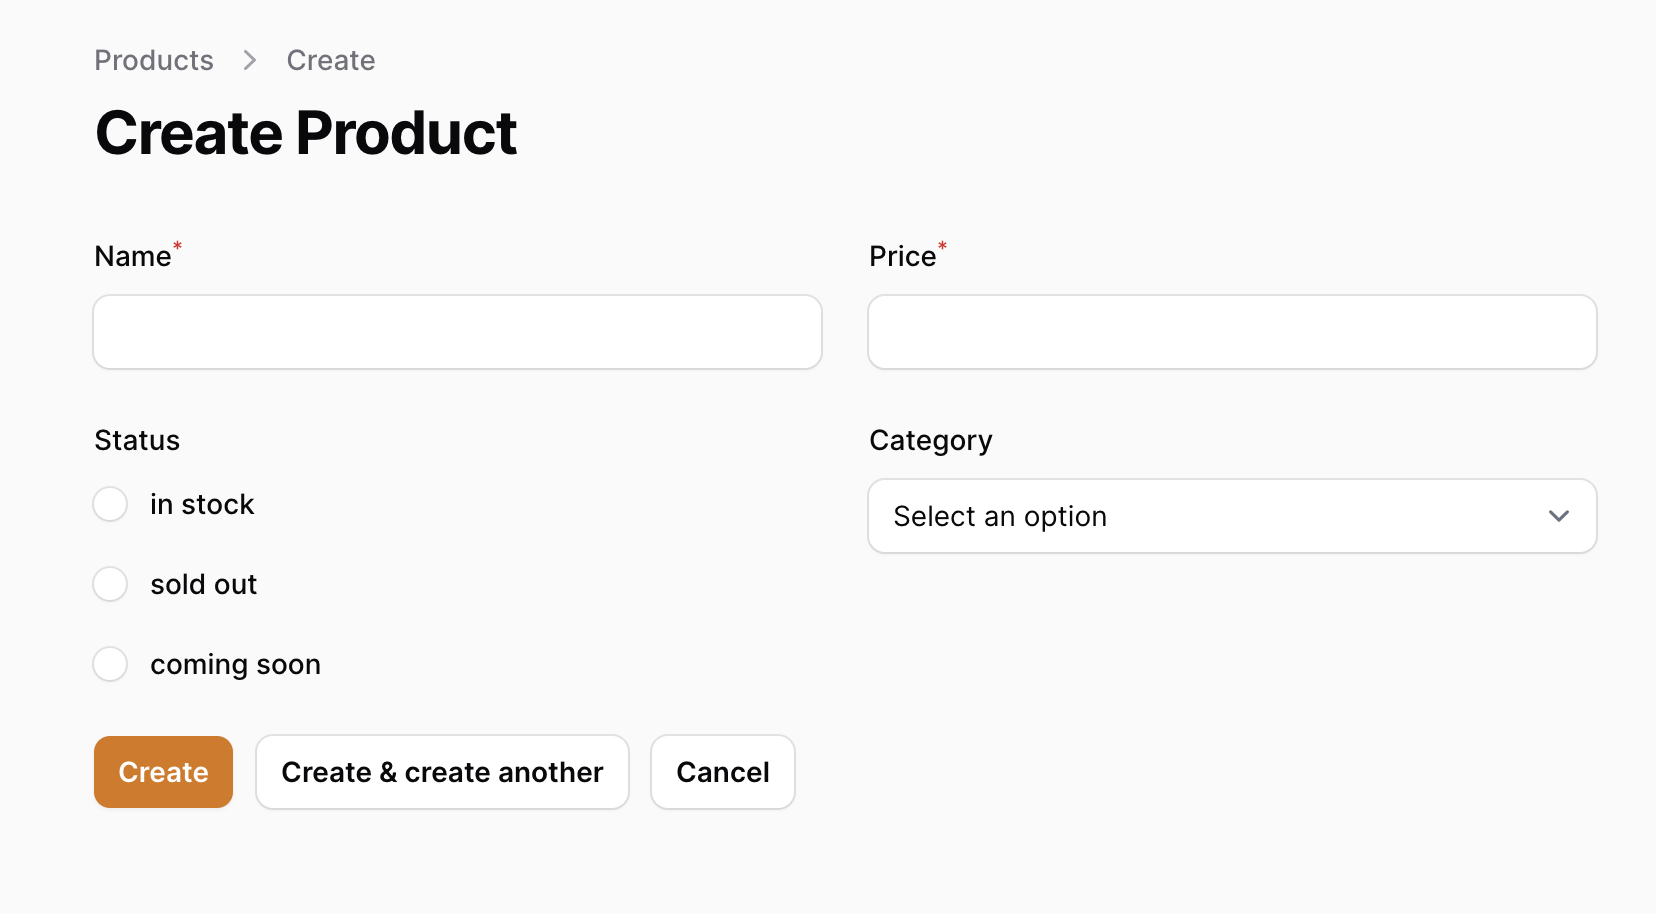
I will remind you how our Create Product form looks now in a default Filament layout:
Let's change the way it looks.
Divide the Form into Columns
By default, all forms are divided into two columns.
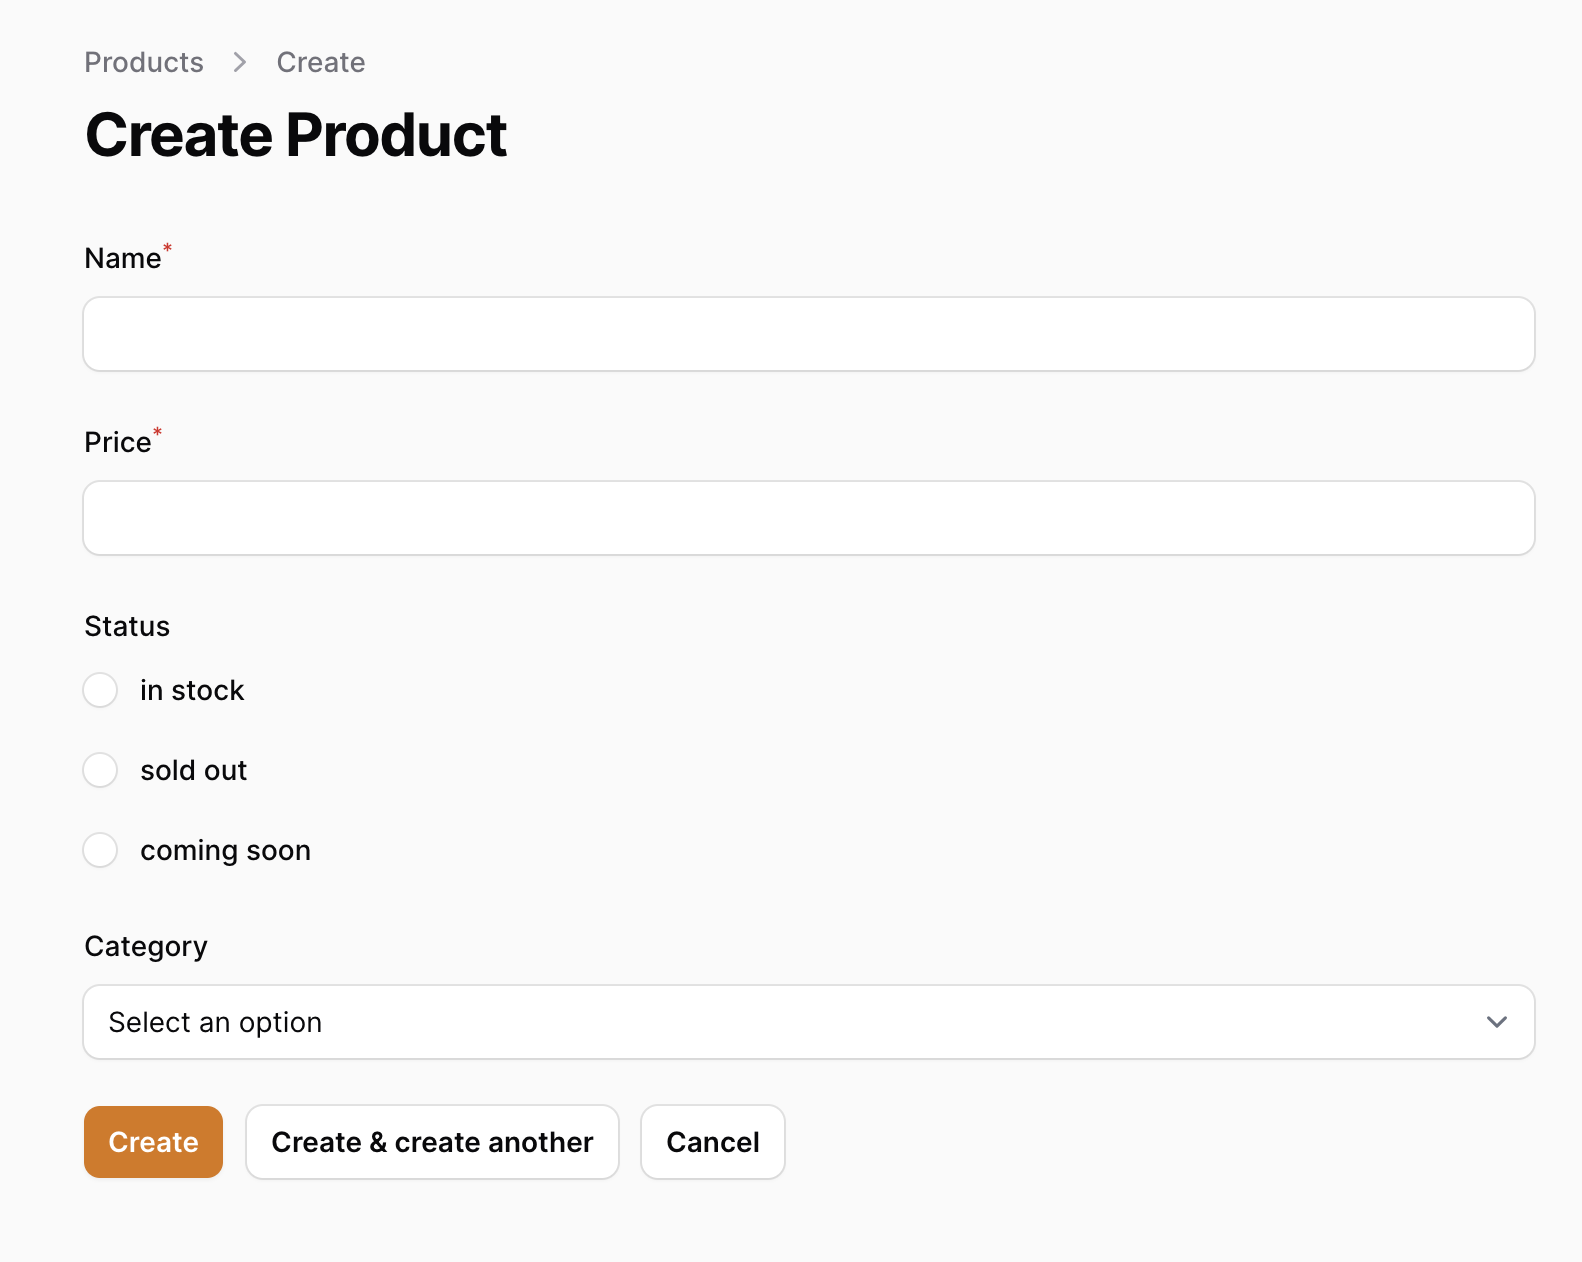
But what if you want it all vertically in one column?
app/Filament/Resources/ProductResource.php:
return $form ->schema([ // ... all the columns ]) ->columns(1);Here's the result:
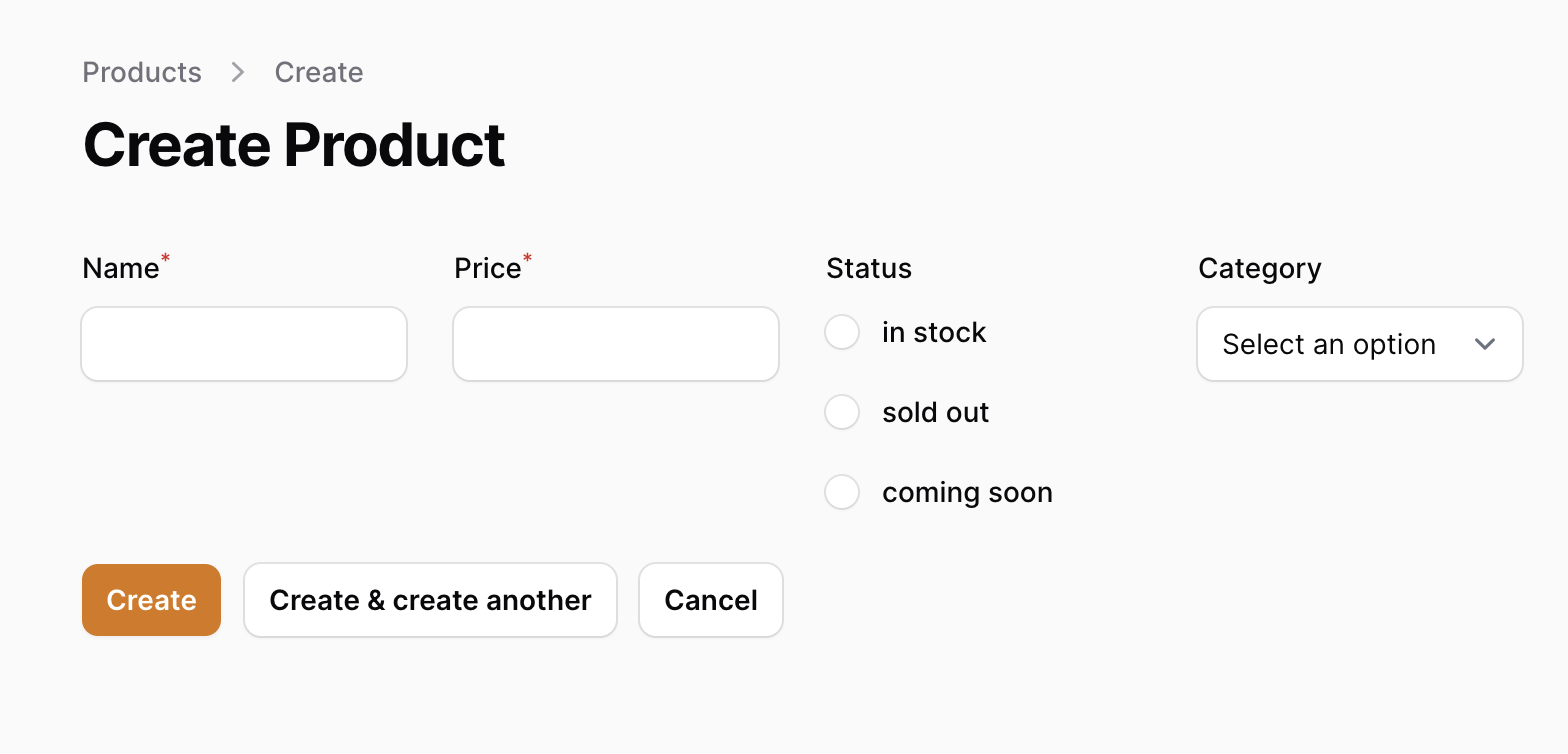
Or maybe it's better the other way around, all in one row? We have four fields, so let's put this into a parameter:
app/Filament/Resources/ProductResource.php:
return $form ->schema([ // ... all the columns ]) ->columns(4);This is how the form looks now:
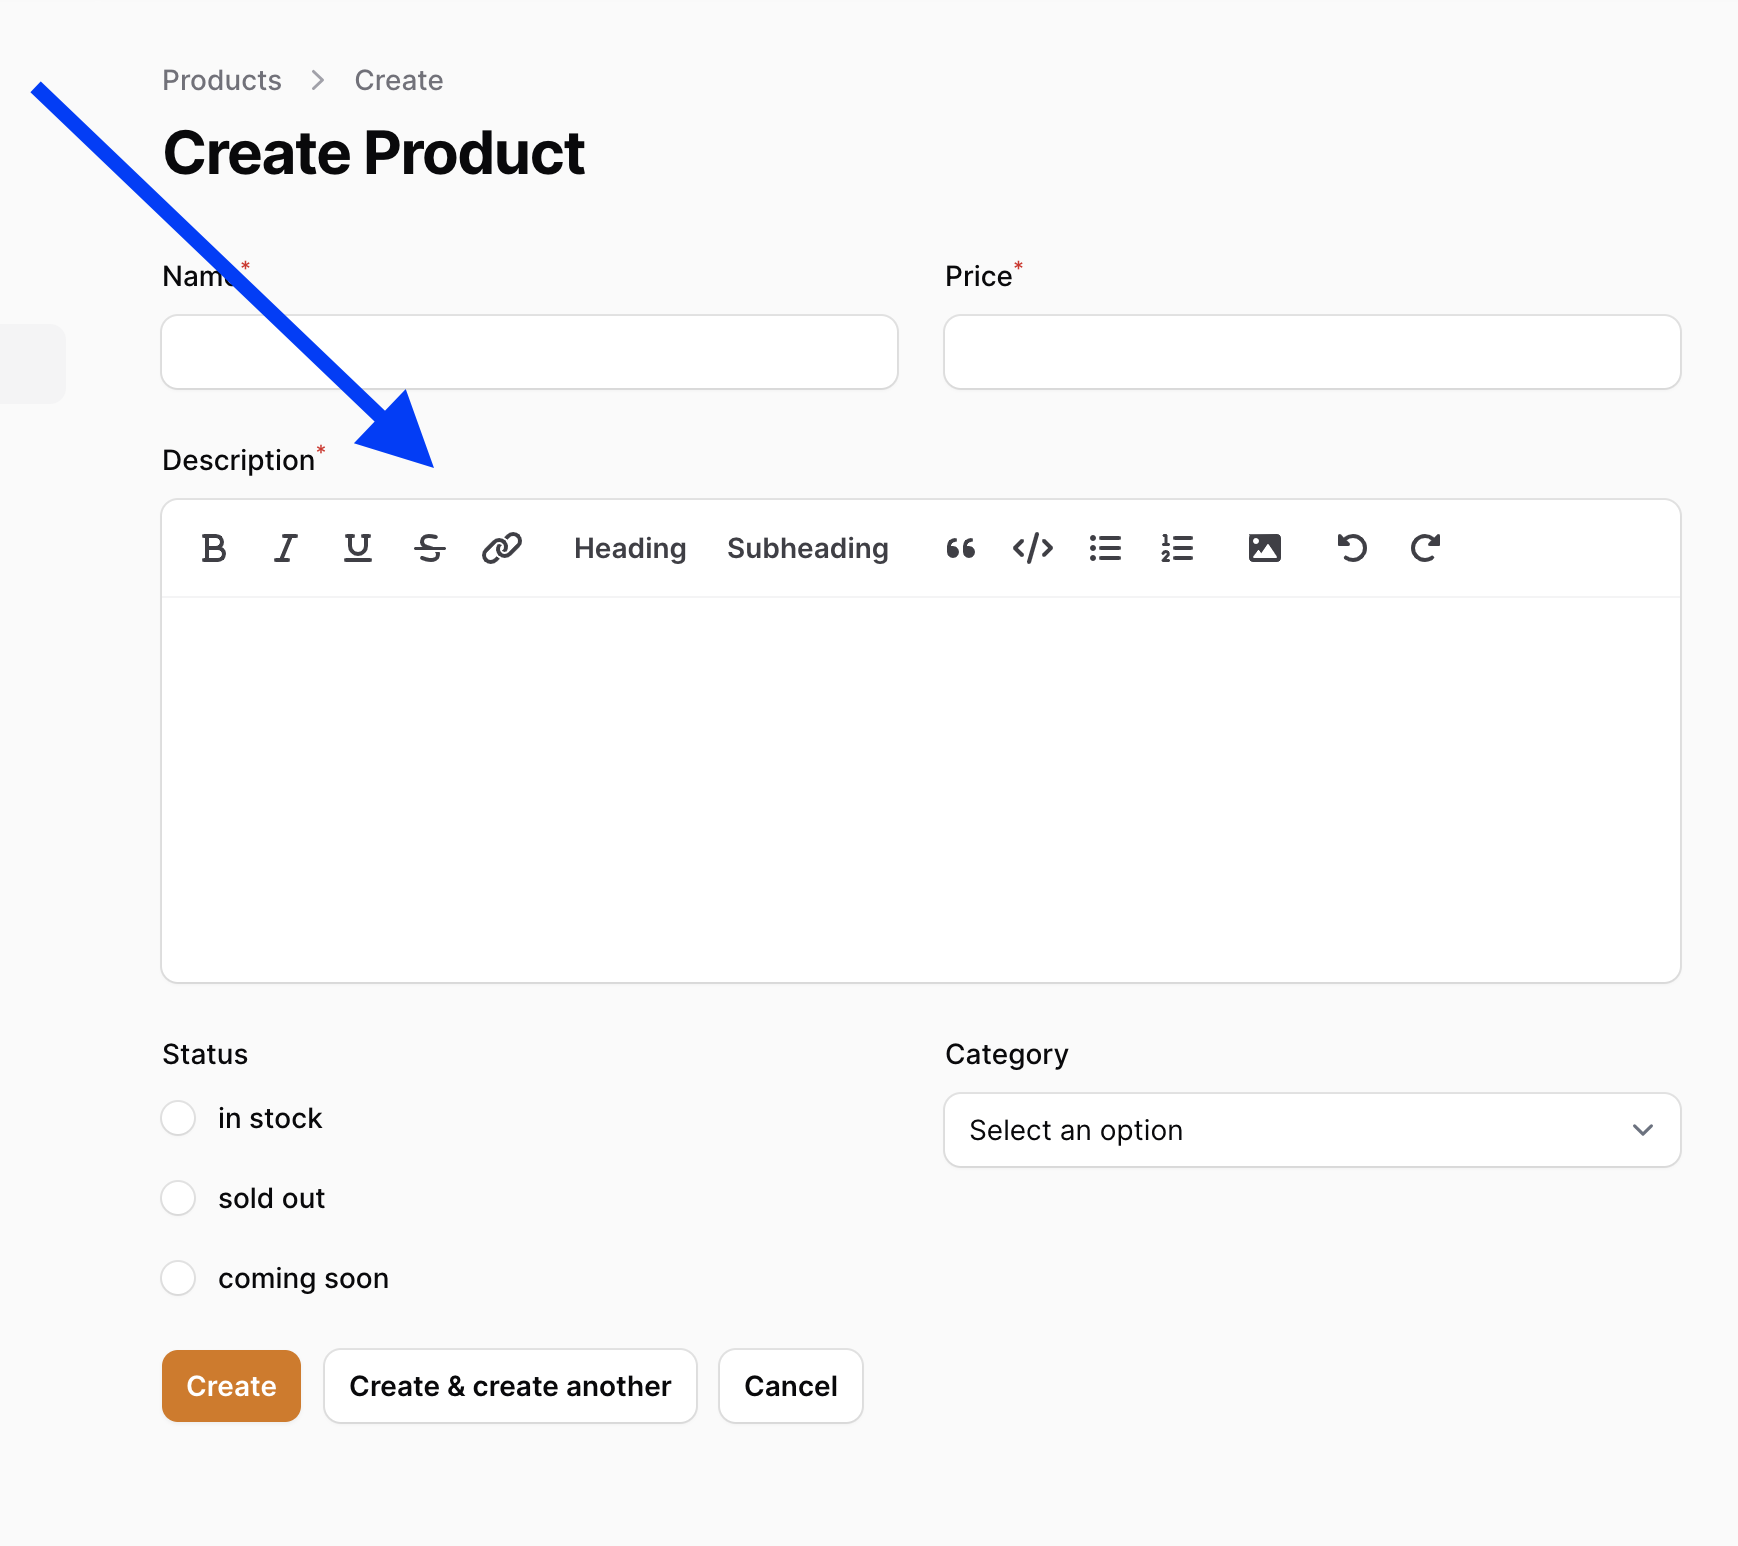
Not only that, you can add a columnSpan() to individual fields of the form.
A typical example is a bigger input like Textarea or RichEditor:
return $form ->schema([ Forms\Components\TextInput::make('name') ->required() ->unique(ignoreRecord: true), Forms\Components\TextInput::make('price') ->required(), Forms\Components\RichEditor::make('description') ->columnSpan(2) ->required(), Forms\Components\Radio::make('status') ->options(self::$statuses), Forms\Components\Select::make('category_id') ->relationship('category', 'name'), ]);Then it takes two columns, i.e., the full width:
Another syntax option for a field to take the full width is columnSpanFull():
return $form ->schema([ Forms\Components\TextInput::make('name') ->required() ->unique(ignoreRecord: true), Forms\Components\TextInput::make('price') ->required(), Forms\Components\Radio::make('status') ->options(self::$statuses), Forms\Components\Select::make('category_id') ->relationship('category', 'name'), Forms\Components\RichEditor::make('description') ->columnSpanFull() ->required(), ]) ->columns(4); 
So, with the help of columns() and columnSpan(), you can make different fields have different sizes.
Dividing Forms into Sections
Now, let's find ways to group the fields visually. The first option is to use Section, which creates a visually rounded border around the set of fields.
For that, just wrap part of the schema array into Section::make()->schema(). You may also optionally provide a label and a description for each section.
return $form ->schema([ Forms\Components\Section::make('Main data') ->description('What users totally need to fill in') ->schema([ Forms\Components\TextInput::make('name') ->required() ->unique(ignoreRecord: true), Forms\Components\TextInput::make('price') ->required(), ]), Forms\Components\Section::make('Additional data') ->schema([ Forms\Components\Radio::make('status') ->options(self::$statuses), Forms\Components\Select::make('category_id') ->relationship('category', 'name'), ]), ]);This is the visual result:

Fieldset instead of Section
Another visual type of grouping is Fieldset: very similar to sections but without the description and the title.
In fact, all you need to do in the code is change the Section::make() to Fieldset::make(), and it works. Except that Fieldset can't have descriptions, so we need to remove that one, too.
return $form ->schema([ Forms\Components\Section::make('Main data') ->description('What users totally need to fill in') Forms\Components\Fieldset::make('Main data') ->schema([ Forms\Components\TextInput::make('name') ->required() ->unique(ignoreRecord: true), Forms\Components\TextInput::make('price') ->required(), ]), Forms\Components\Section::make('Additional data') Forms\Components\Fieldset::make('Additional data') ->schema([ Forms\Components\Radio::make('status') ->options(self::$statuses), Forms\Components\Select::make('category_id') ->relationship('category', 'name'), ]), ]);This is how the Fieldsets look:

Dividing Forms into Tabs
For longer forms, it makes sense to divide the fields into steps and hide the following steps for now. Tabs are great for it.
The syntax is similar to Section and Fieldset above: you need to change Fieldset::make() to Tab::make() and also wrap the tab array into a Tabs::make()->tabs([]) structure.
return $form ->schema([ Forms\Components\Tabs::make()->tabs([ Forms\Components\Tabs\Tab::make('Main data') ->schema([ Forms\Components\TextInput::make('name') ->required() ->unique(ignoreRecord: true), Forms\Components\TextInput::make('price') ->required(), ]), Forms\Components\Tabs\Tab::make('Additional data') ->schema([ Forms\Components\Radio::make('status') ->options(self::$statuses), Forms\Components\Select::make('category_id') ->relationship('category', 'name'), ]), ]) ]);Here's how it looks, both tabs are clickable on top:


Wizard with Steps
With tabs in the example above, you can fill in the tabs in any order you want, clicking between them at any time.
If you want to force the user to fill data step-by-step and assign the numbers to each step, then Wizard is the way to go.
Here's the syntax:
return $form ->schema([ Forms\Components\Wizard::make([ Forms\Components\Wizard\Step::make('Main data') ->schema([ Forms\Components\TextInput::make('name') ->required() ->unique(ignoreRecord: true), Forms\Components\TextInput::make('price') ->required(), ]), Forms\Components\Wizard\Step::make('Additional data') ->schema([ Forms\Components\Radio::make('status') ->options(self::$statuses), Forms\Components\Select::make('category_id') ->relationship('category', 'name'), ]), ]) ]);And the visual result:

So these are the options to customize the layout, but what you need to understand is that they can be combined together, and this is where they shine: you can create sections with tabs inside, divided with different column spans, etc. The opportunities are endless, and it's down to your creativity.
An example of this could be the official Filament demo. Here's the page with the form to create an order:

And here's the code:
return $form ->schema([ Forms\Components\Group::make() ->schema([ Forms\Components\Section::make() ->schema(static::getFormSchema()) ->columns(2), Forms\Components\Section::make('Order items') ->schema(static::getFormSchema('items')), ]) ->columnSpan(['lg' => fn (?Order $record) => $record === null ? 3 : 2]), Forms\Components\Section::make() ->schema([ Forms\Components\Placeholder::make('created_at') ->label('Created at') ->content(fn (Order $record): ?string => $record->created_at?->diffForHumans()), Forms\Components\Placeholder::make('updated_at') ->label('Last modified at') ->content(fn (Order $record): ?string => $record->updated_at?->diffForHumans()), ]) ->columnSpan(['lg' => 1]) ->hidden(fn (?Order $record) => $record === null), ]) ->columns(3);Check out the complete code on GitHub.
Want to know what all those additional parameters do? Head into the official documentation about Form Builder layouts.
Also, as I mentioned in the beginning, those layout components can be used similarly on other pages. For example, the Infolists (we will talk about them later) also have components like Fieldset, Tabs, Section, just with different namespaces. So, it's generally helpful to understand and practice how those layouts work for the future re-usage.
Neat and clean...thanks you sir.
Hello. Excellent quick overview, thank you for that!
One image is missing here: An example of this could be the official Filament demo. Here's the page with the form to create an order:
Thanks for noticing, added the image!
Hello Everyone, I'm trying to do the example in the demo, I had to change several things and add others but I have a problem with the Total price, I want to know the total of the order to include the repeat. Thanks
Hi, this is not covered in this course, but it is available in another course:
//lesson/filament-crm/customer-quotes-products
In there, you can see
updateTotalsmethod and it's usage on how to make this happen real-time. But be aware - it can get confusing, as it's not the easiest thing to do.Hi, thanks. I'll see. Cheers
Is there a way to save a form from an action? I can validate.... but not save!
Why would you need to save the form via action? Expand on the use case, as it depends how you need to do it :)
Hi, congrats for explaining so well all the concepts.
What about modifying colors, margins, fonts, etc? I think Filament uses TailwindCSS, but where can we modify such things. Guess it would be on file-components, but where are they?
Thanks in advance
Hi, for this - you should look into //course/filament-visual-customize?mtm_campaign=search-tag-course - as you will have to create a custom theme (even to modify margins on existing elements or change colors)