In this lesson, we are going to update the Register page, use state and see how to handle the form submission.
Update src/views/auth/Register.jsx with the following content.
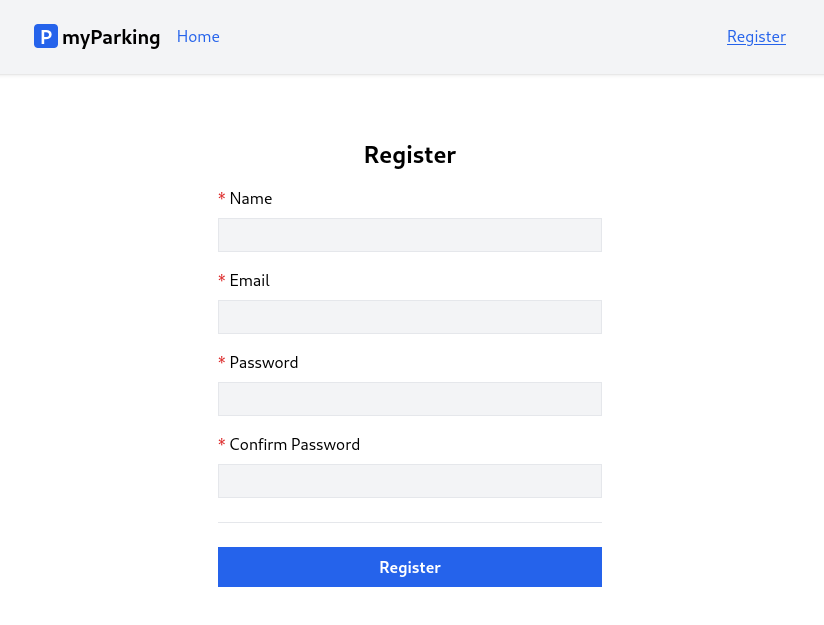
import { useState } from 'react' function Register() { const [name, setName] = useState('') const [email, setEmail] = useState('') const [password, setPassword] = useState('') const [passwordConfirmation, setPasswordConfirmation] = useState('') function handleSubmit(event) { event.preventDefault() const data = { name, email, password, passwordConfirmation } console.log(data) } return ( <form onSubmit={ handleSubmit } noValidate> <div className="flex flex-col mx-auto md:w-96 w-full"> <h1 className="heading">Register</h1> <div className="flex flex-col gap-2 mb-4"> <label htmlFor="name" className="required">Name</label> <input id="name" name="name" type="text" value={ name } onChange={ event => setName(event.target.value) } className="form-input" autoComplete="name" /> </div> <div className="flex flex-col gap-2 mb-4"> <label htmlFor="email" className="required">Email</label> <input id="email" name="email" type="email" value={ email } onChange={ event => setEmail(event.target.value) } className="form-input" autoComplete="email" /> </div> <div className="flex flex-col gap-2 mb-4"> <label htmlFor="password" className="required">Password</label> <input id="password" name="password" type="password" value={ password } onChange={ event => setPassword(event.target.value) } className="form-input" autoComplete="new-password" /> </div> <div className="flex flex-col gap-2"> <label htmlFor="password_confirmation" className="required">Confirm Password</label> <input id="password_confirmation" name="password_confirmation" type="password" value={ passwordConfirmation } onChange={ event => setPasswordConfirmation(event.target.value) } className="form-input" autoComplete="new-password" /> </div> <div className="border-t h-[1px] my-6"></div> <div className="flex flex-col gap-2 mb-4"> <button type="submit" className="btn btn-primary"> Register </button> </div> </div> </form> )} export default RegisterThis is an ordinary form to display our registration form. There are a few things I'd like to address.
First, we can see that we imported the useState hook from React.
useState is React Hook that lets you add a state variable to your component. It accepts the argument as an initial state value. It also can be a function.
In our case, we have the following statement for our form field with an empty string as an initial value.
const [name, setName] = useState('')To display that initial value for the input field we can define the value property.
value={ name } set the input field's value to the value of the state variable name. When we pass the value property, we must also pass the onChange handler that updates the passed value.
When we enter something in the field, the value is updated using the onChange event handler. Here we defined an anonymous function that accepts that event and updates its value using the setName() function.
<input id="name" name="name" type="text" value={ name } onChange={ event => setName(event.target.value) } className="form-input" autoComplete="name"/>Another not-so-important but rather convenient thing for users is the autoComplete attributes on form fields. It defines what type of values can be auto-filled by the browser or for example password managers to generate a new password if the user uses any. More information can be found there # HTML attribute: autocomplete.
The same logic applies to all fields.
The form has an onSubmit handler, which calls the handleSubmit() function when we submit the form. noValidate property tells the browser not to attempt any field validation by default, because we will implement validation to be done by the server every time the form is submitted.
<form onSubmit={ handleSubmit } noValidate>handleSubmit() receives the event and calls event.preventDefault() which means when we submit the form default HTML behavior will be prevented, otherwise, the page would just reload, so we do not want that in our case because we are going to handle submission using XHR request.
function handleSubmit(event) { event.preventDefault() const data = { name, email, password, passwordConfirmation } console.log(data)}For now, when you fill in form details, the data of your form can be seen in the console.
That's it for this lesson, and let's move on to another one.
No comments yet…